

用docker封装python应用
docker保证了一致的运行环境,使得项目可以跨平台、跨设备运行。本文介绍用docker封装python项目的详细步骤,并给出了三个实践案例。
预期读者有一定的python基础,能使用pip或conda/mamba管理python环境,并对docker有一定了解。
Hello World
首先,新建文件夹,新建一个conda环境,安装python和演示用第三方包。
(base) [william@WinM bioUtils]$mkdir bioUtils
(base) [william@WinM bioUtils]$cd bioUtils
(base) [william@WinM bioUtils]$mamba create -n bioUtils
(base) [william@WinM bioUtils]$mamba activate bioUtils
(bioUtils) [william@WinM bioUtils]$mamba install python fastapi uvicorn
将环境依赖项保存为 requirements.txt
(bioUtils) [william@WinM bioUtils]$pip freeze > requirements.txt
(bioUtils) [william@WinM bioUtils]$ls
requirements.txt
(bioUtils) [william@WinM bioUtils]$cat requirements.txt
annotated-types @ file:///home/conda/feedstock_root/build_artifacts/annotated-types_1696634205638/work
anyio @ file:///home/conda/feedstock_root/build_artifacts/anyio_1688651106312/work/dist
click @ file:///home/conda/feedstock_root/build_artifacts/click_1692311806742/work
exceptiongroup @ file:///home/conda/feedstock_root/build_artifacts/exceptiongroup_1704921103267/work
fastapi @ file:///home/conda/feedstock_root/build_artifacts/fastapi_1708823750898/work
h11 @ file:///home/conda/feedstock_root/build_artifacts/h11_1664132893548/work
idna @ file:///home/conda/feedstock_root/build_artifacts/idna_1701026962277/work
pydantic @ file:///home/conda/feedstock_root/build_artifacts/pydantic_1710622263606/work
pydantic_core @ file:///home/conda/feedstock_root/build_artifacts/pydantic-core_1708700703789/work
setuptools==69.2.0
sniffio @ file:///home/conda/feedstock_root/build_artifacts/sniffio_1708952932303/work
starlette @ file:///home/conda/feedstock_root/build_artifacts/starlette-recipe_1707149932752/work
typing_extensions @ file:///home/conda/feedstock_root/build_artifacts/typing_extensions_1708904622550/work
uvicorn @ file:///home/conda/feedstock_root/build_artifacts/uvicorn-split_1710932005860/work
wheel==0.42.0
注意,此处python包的路径复用了conda本地缓存的安装包,显然容器内是使用不了的。将本地链接(@ file://xxx)清理干净,得到
annotated-types
anyio
click
exceptiongroup
fastapi
h11
idna
pydantic
pydantic_core
setuptools==69.2.0
sniffio
starlette
typing_extensions
uvicorn
wheel==0.42.0
创建 src/main.py,写入待执行的命令
print('Hello, World!')
创建 Dockerfile,写入构建镜像的命令。意思是基于dockerhub的 python:3.12.2-alpine镜像构建,容器内的应用目录是 /app,将当前目录文件都复制到 /app下,构建时执行 pip安装环境。在镜像构建完毕、容器运行后,运行 main.py脚本。
FROM python:3.12.2-alpine
WORKDIR /app
ADD . .
RUN pip install -r requirements.txt
CMD ["python", "./src/main.py"]
此时的目录结构是
.
├── Dockerfile
├── requirements.txt
└── src
    └── main.py
根据 Dockerfile构建docker镜像,并将tag指定为 bio-utils:v1。可能需要等几分钟
(bioUtils) [william@WinM bioUtils]$docker build -f Dockerfile -t bio-utils:v1 .
DEPRECATED: The legacy builder is deprecated and will be removed in a future release.
            Install the buildx component to build images with BuildKit:
            https://docs.docker.com/go/buildx/

Sending build context to Docker daemon  41.98kB
Step 1/5 : FROM python:3.12.2-alpine
3.12.2-alpine: Pulling from library/python
4abcf2066143: Pull complete
c3cdf40b8bda: Pull complete
2aa9be932802: Downloading [======>                                            ]  1.572MB/11.77MB
ae52dd4ac952: Download complete
09f577b6635e: Downloading [=====================>                             ]  1.146MB/2.698MB
当你看到类似下面的提示,就表明已经构建成功
Step 5/5 : CMD ["python", "./src/main.py"]
 ---> Running in 146900e9066c
Removing intermediate container 146900e9066c
 ---> eb73056e8e61
Successfully built eb73056e8e61
Successfully tagged bio-utils:v1
查看镜像列表,可以看到
(bioUtils) [william@WinM bioUtils]$docker images
REPOSITORY                        TAG             IMAGE ID       CREATED         SIZE
bio-utils                         v1              eb73056e8e61   2 minutes ago   78.9MB
启动容器,可以得到输出
(bioUtils) [william@WinM bioUtils]$docker run bio-utils:v1
Hello, World!
由于 main.py只有一行代码,容器运行后就退出了。可以在 docker ps -a全部容器中看到
(bioUtils) [william@WinM bioUtils]$docker ps -a
CONTAINER ID   IMAGE                    COMMAND                  CREATED          STATUS                      PORTS                                       NAMES
5b7a581b4472   bio-utils:v1             "python ./src/main.py"   49 seconds ago   Exited (0) 48 seconds ago                                               pedantic_taussig
持久运行的服务
大多数时候,我们需要封装一个持续在后台运行的服务。以python自带的HTTP服务器为例,我们将 Dockerfile的 CMD修改一下
FROM python:3.12.2-alpine
WORKDIR /app
ADD . .
RUN pip install -r requirements.txt
CMD python -m http.server 9914
然后构建镜像,创建并运行容器。注意设置端口转发
(bioUtils) [william@WinM bioUtils]$docker build -f Dockerfile -t bio-utils:v1.1 .
(bioUtils) [william@WinM bioUtils]$docker run -p 9914:9914 bio-utils:v1.1
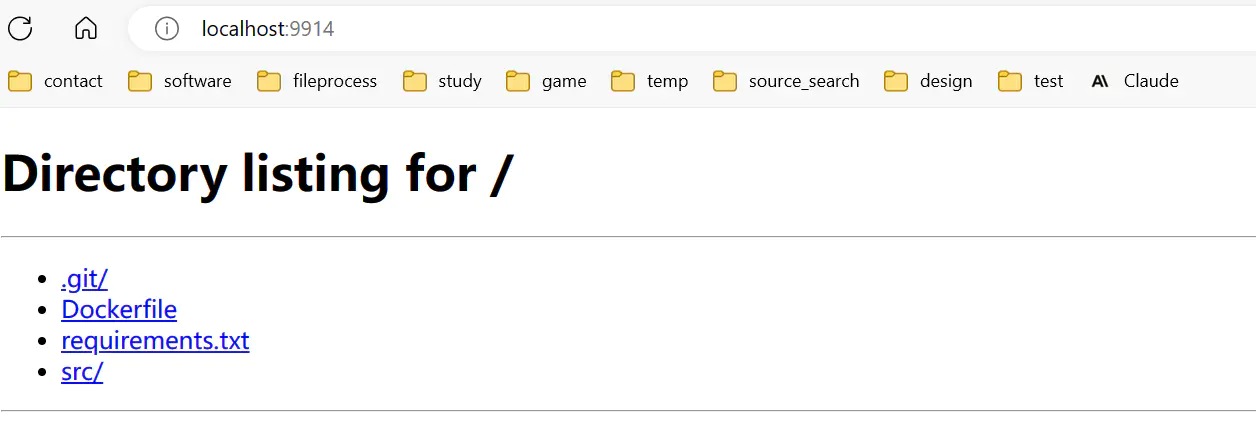
此时容器内的HTTP服务器就已经启动。在浏览器输入 localhost:9914,即可看到容器内的文件
进入容器内部,可以看到 /app目录下的文件
(bioUtils) [william@WinM bioUtils]$docker exec -it e74b315ac9fd sh
/app # ls
Dockerfile requirements.txt src
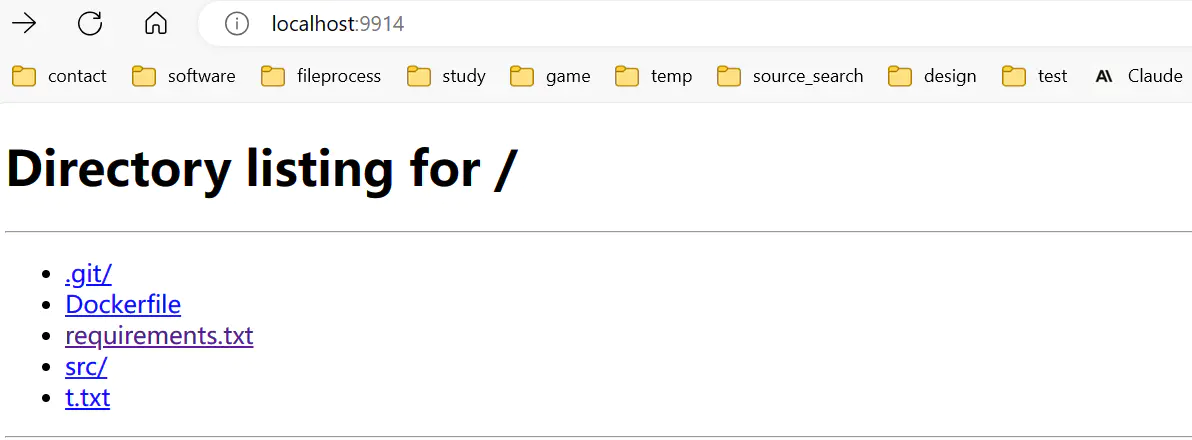
/app # touch t.txt
在容器内创建文件,将会实时在 localhost:9914更新
简单的后端
我们刚刚安装的Fastapi是一个python Web框架,可以简便地创建一个后端服务。
例如,我们将 main.py改写如下:
from fastapi import FastAPI
app = FastAPI()
@app.get("/")
async def root():
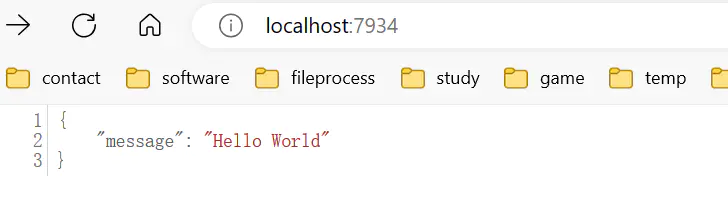
return {"message": "Hello World"}
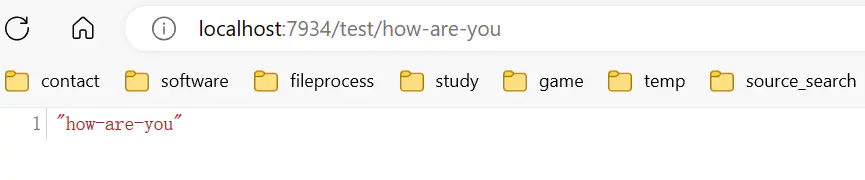
@app.get("/test/{name}")
async def test(name: str):
return name
if __name__ == "__main__":
import uvicorn
uvicorn.run("main:app", host="0.0.0.0", port=7934,
log_level="info", reload=True)
将 Dockerfile改为执行 main.py,启动后端服务
FROM python:3.12.2-alpine
WORKDIR /app
ADD . .
RUN pip install -r requirements.txt
CMD ["python", "./src/main.py"]
然后构建镜像,创建并运行容器。注意设置端口转发
(bioUtils) [william@WinM bioUtils]$docker build -f Dockerfile -t bio-utils:v1.2 .
(bioUtils) [william@WinM bioUtils]$docker run -p 7934:7934 bio-utils:v1.2
INFO:     Will watch for changes in these directories: ['/app']
INFO:     Uvicorn running on http://0.0.0.0:7934 (Press CTRL+C to quit)
INFO:     Started reloader process [1] using StatReload
INFO:     Started server process [8]
INFO:     Waiting for application startup.
INFO:     Application startup complete.
打开浏览器,访问 localhost:7934,即可使用 main.py中我们编写的接口了
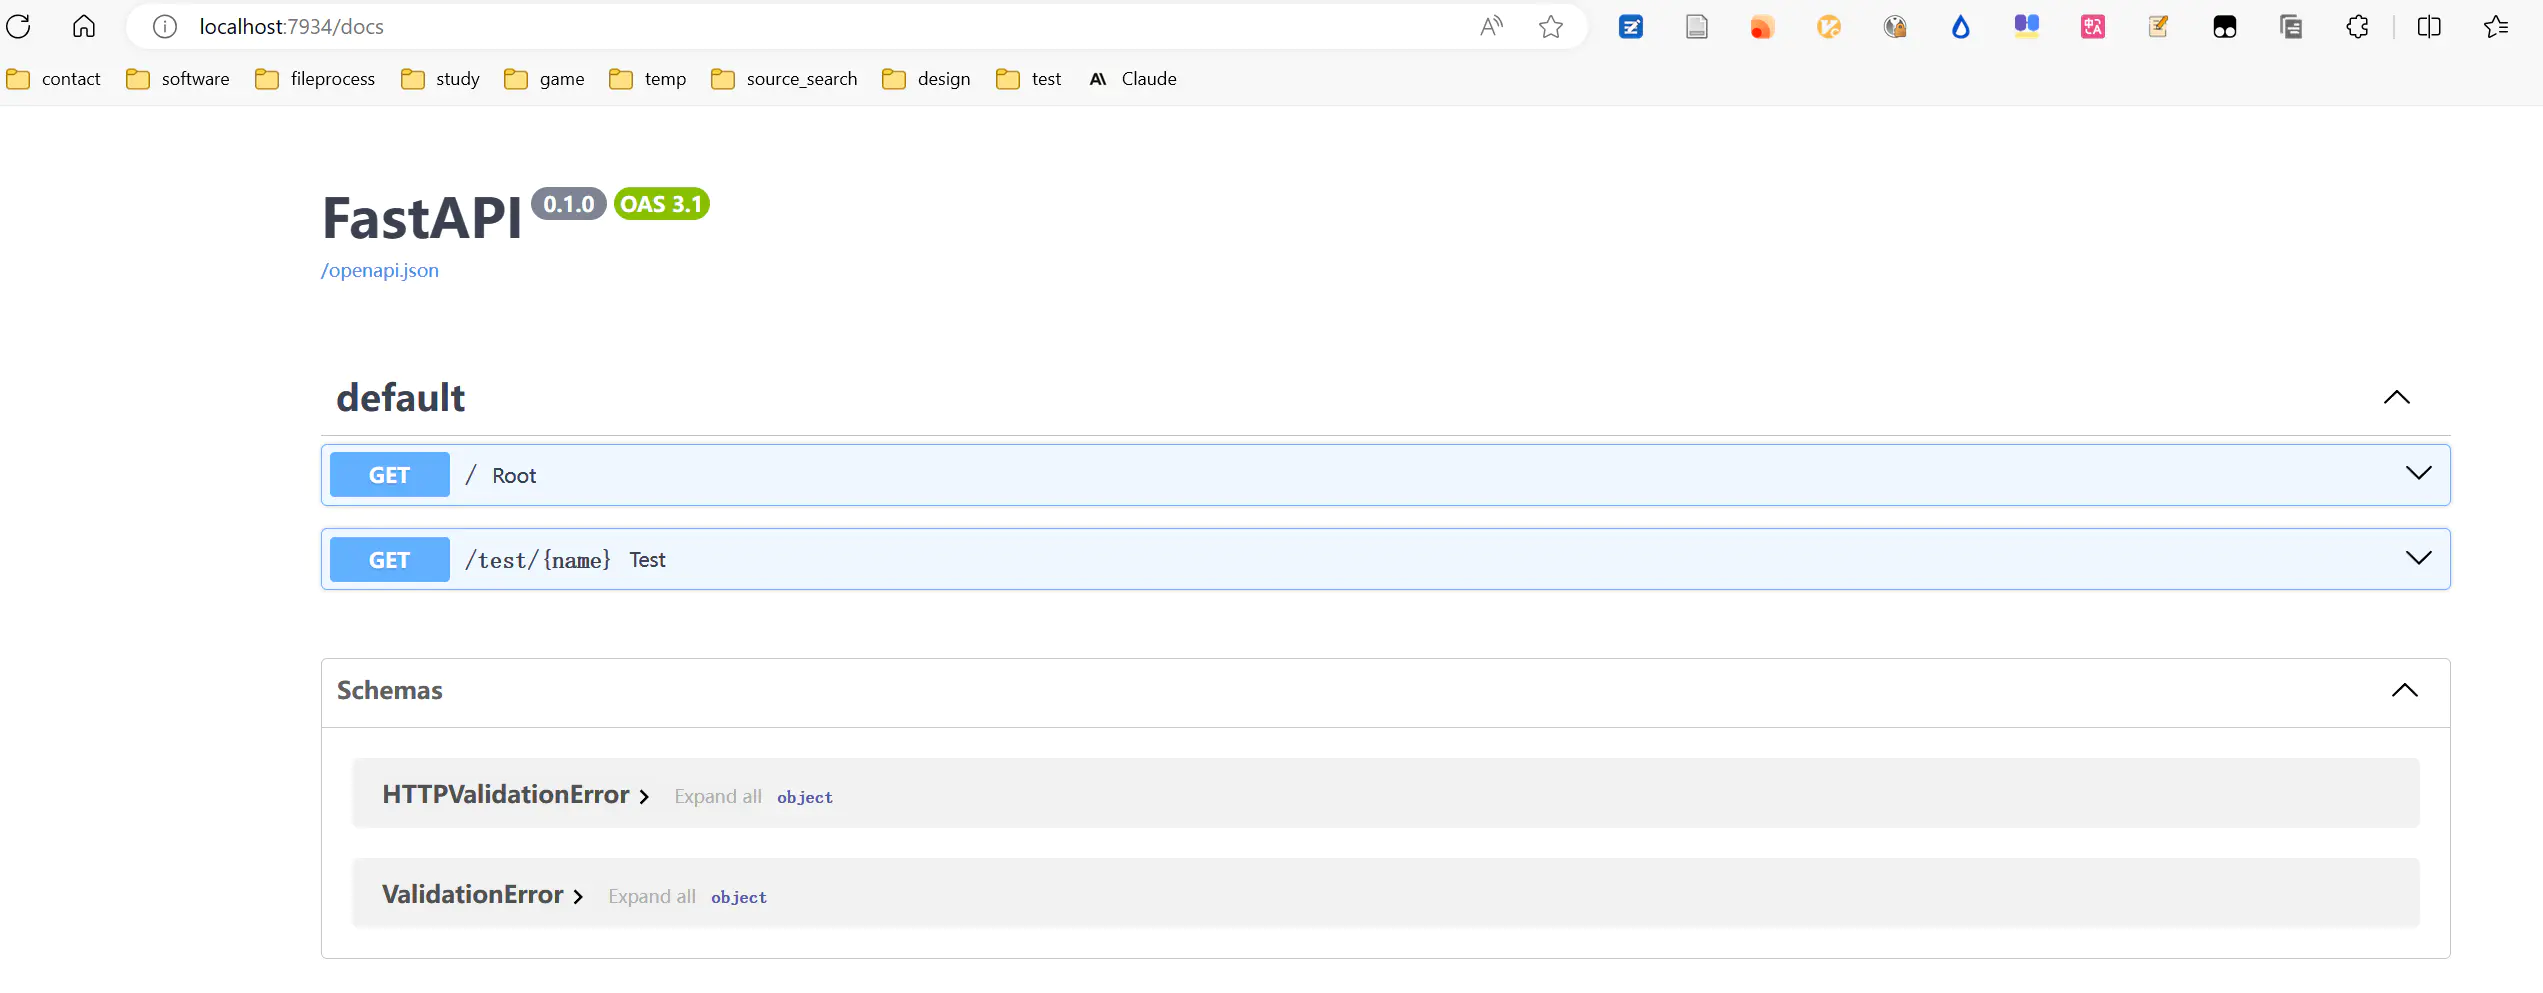
Fastapi还自动创建了接口文档,在 localhost:7934/docs
总结
以上,我们学习了如何用docker封装python项目。核心点是正确地将环境保存到 requirements.txt,以及恰当地写下一个 Dockerfile。
如果你愿意,你还可以注册一个dockerhub账号,使用 docker push命令,将构建好的镜像上传到dockerhub,公开提供下载。
玩得开心!